
Create an account • Log in • Explore Dashboard
A simple step-by-step guide for first-time users
Before you begin
For testing, you may use imaginary organization details. We recommend starting the organization name with “Test org…” so that we can easily distinguish test organizations from real ones. After registration, the organization remains pending approval.
While approval is pending, online ticket sales and real QR ticket scanning are not available. You can explore the available features and prepare your organization for ticketing.
Website: ticketline.in
1. Open TicketLine
1. Open your browser
Open Google Chrome or any web browser.
2. Visit TicketLine
Type ticketline.in in the address bar and click/tap Enter.
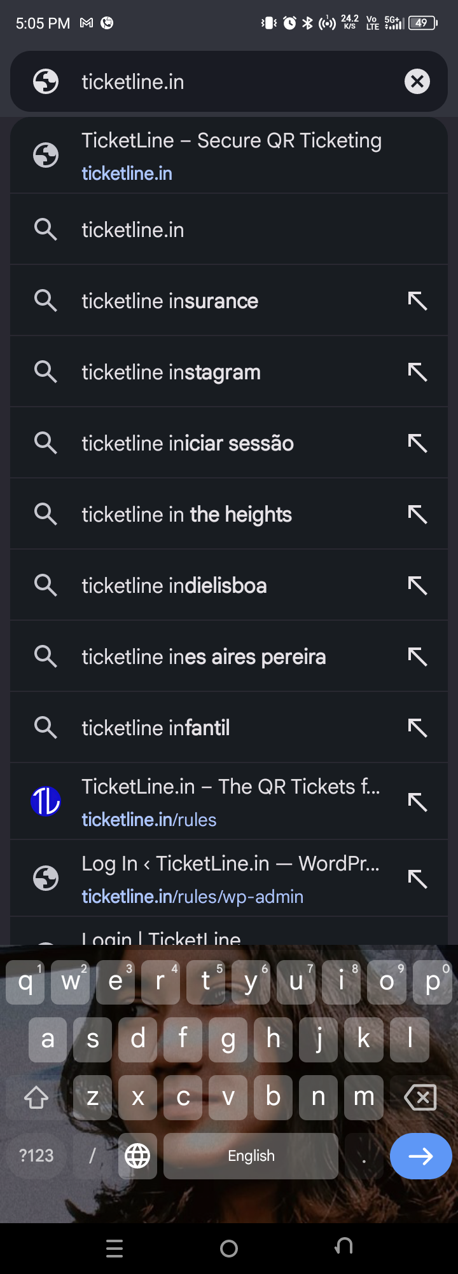

2. Create your organization account
3. Start registration
click/tap “Start Free Today”. You can also open the menu (☰) and choose “Sign Up”.
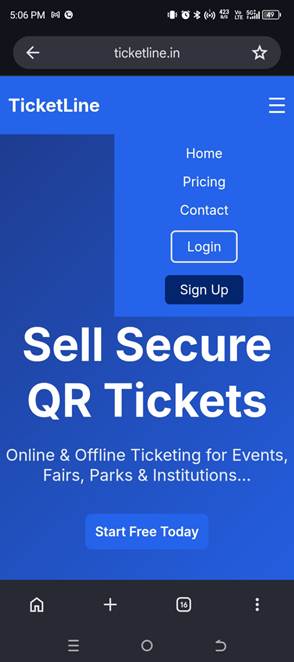
4. Enter organization details
Complete the Organization Registration form and click/tap “Register”.
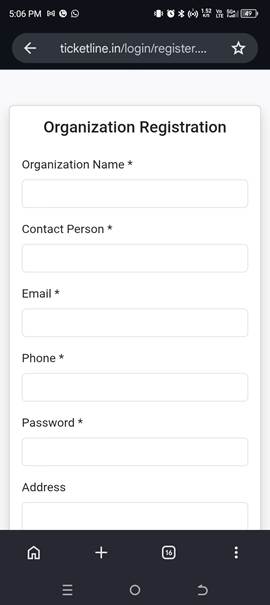
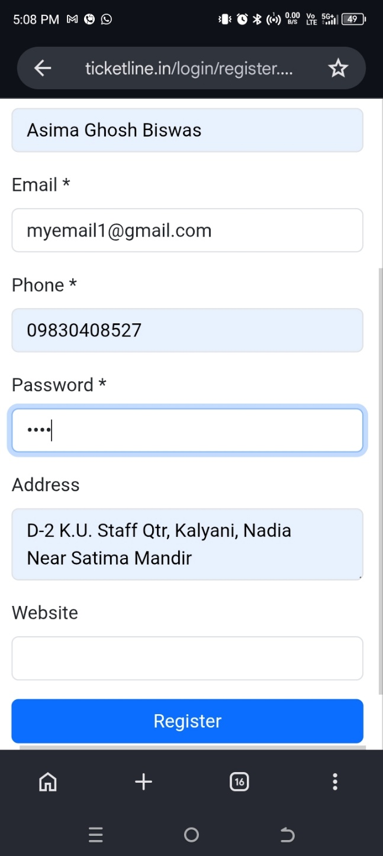
5. For testing
Use Test org…. as organization name if you are only exploring the system.
3. Registration confirmation & login
6. Registration completed
After successful registration, the system will show a confirmation message and provide a “Go to Login” option.
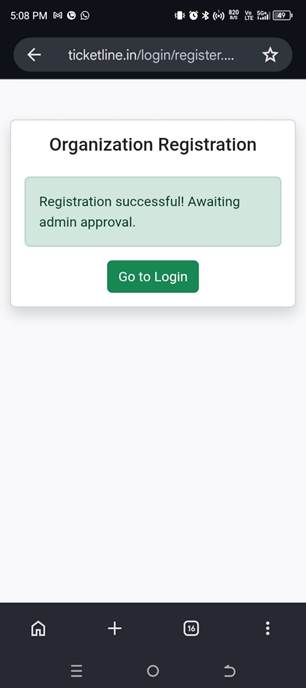
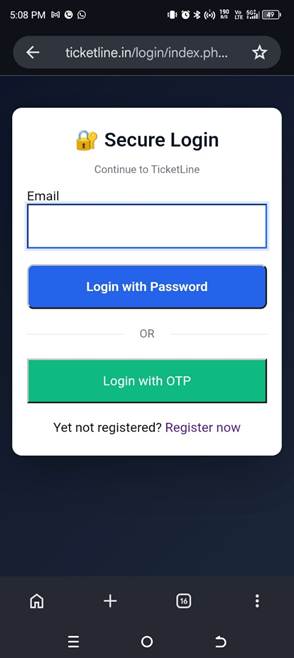
7. Open the Login page
Enter your registered email address. You can choose password login or OTP login.
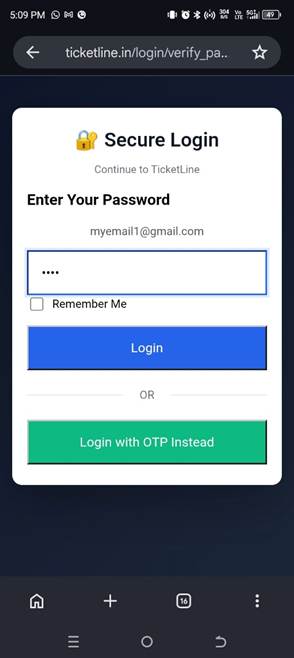
8. Log in
If you selected password login, enter your password and click/tap “Login”. You can also switch to OTP login.
4. Explore your dashboard
9. Dashboard
After login, your organization dashboard will open.
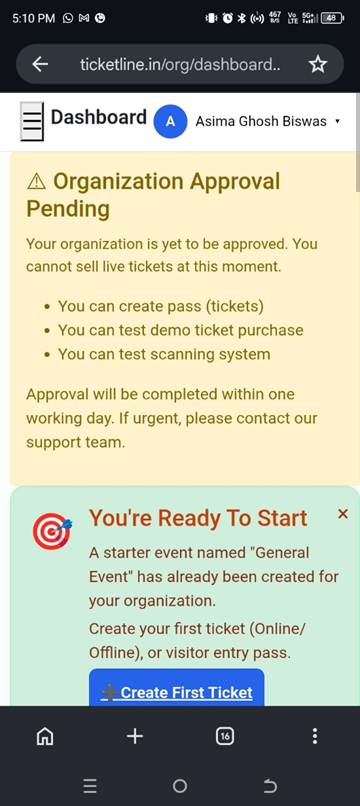
Important: The dashboard may show “Organization Approval Pending”. Ticket selling is not yet enabled, but you can test demo ticket purchase and the scanning system.
5. What to do next
If your organization is awaiting approval:
You can create your event/program, configure ticket types and pricing, and explore the available features.
Once your organization is approved:
Online ticket sales and real QR ticket scanning will become available.